• Identify Common Roof Leak Signs: Spot early warnings like pooled water and cracks.
• Effective DIY Repair Steps: Clean areas, check drainage, and apply sealant for fixes.
• Avoid Typical Mistakes: Learn the dos and don’ts to prevent further roof damage.
Recognizing the Signs of Leakage
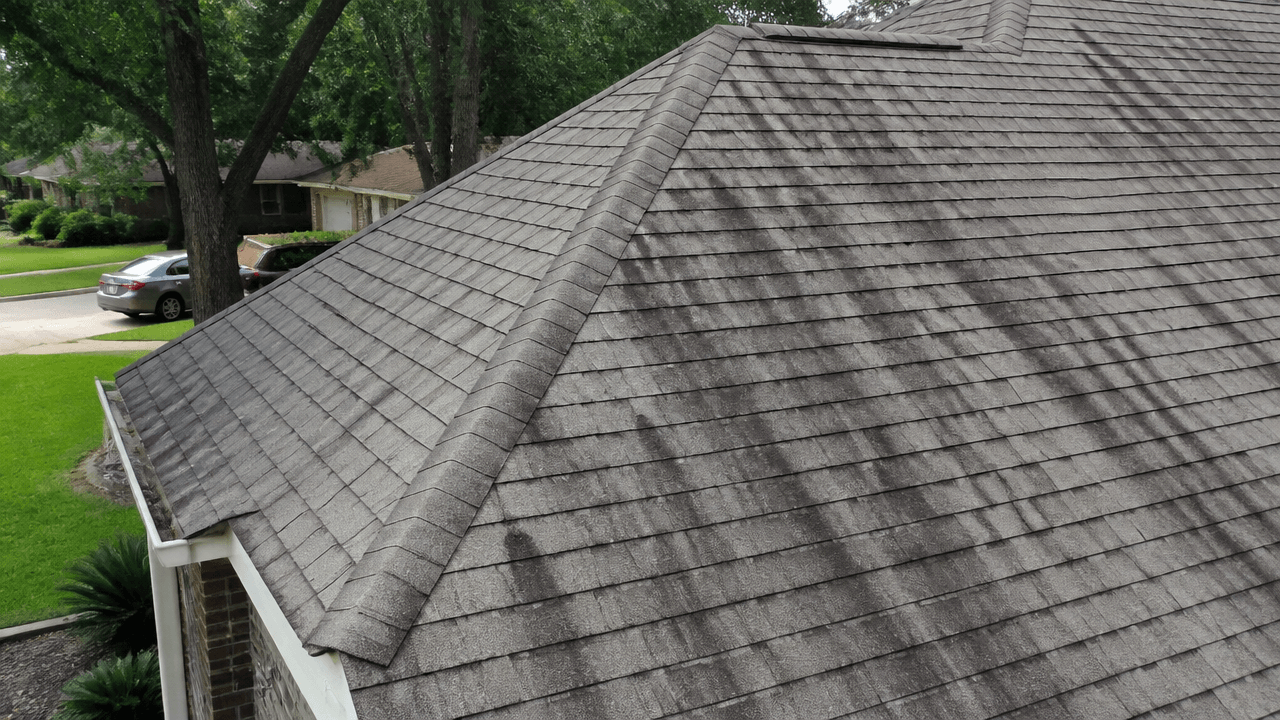
Is your low slope roof in Dallas showing troubling symptoms of leakage? Ignoring these initial warnings could lead to more significant problems down the line. Among the first indicators of trouble are pooled water, which should never be present on your roof, as it suggests poor drainage or dip areas. Also, keep an eye out for discoloration on the roof’s surface which might hint at moisture accumulation beneath.
Cracks and blisters in your roofing material are not just cosmetic issues; they’re signs of a deeper vulnerability. These imperfections can allow water to seep through, undermining your roof’s integrity. It’s particularly important to look for tears in the roofing material, as these can quickly escalate to severe leaks, especially during our heavy summer rains.
Lastly, be mindful of any unexpected dampness or water stains on the ceilings and walls inside your building. These interior clues often point to a breach up above and should prompt immediate action. As we move into the more practical steps of remedying low slope roof leakage, remembering these signs will guide your vigilant inspections and preventive measures.
Preparing for Repair: Cleaning the Leaky Areas
Once you’ve marked the signs of potential leakage, the next vital step is to clean the affected area. A clear space free of debris is key to ensuring a repair that will last. Begin by removing leaves, twigs, and other detritus that can trap moisture against the roof’s surface. It’s also important to eliminate any standing water that could disrupt the repair process, as even small pools can be indicative of a larger underlying problem.
Dirt and grime accumulation can hide smaller cracks or aggravate existing damage, so a thorough cleansing is non-negotiable. Use a gentle, yet effective method of cleaning to keep the area pristine without further damage to the roofing material. After tidying up, the roof is better prepared for a detailed examination and ready for the restoration steps. Having a reliable partner for this process can be invaluable, and the experts at Imperial Roofing are well-equipped to handle all your residential and commercial roofing needs.
Evaluating and Improving Roof Drainage
Effective drainage systems greatly reduce the risk of leakage and water damage to your low slope roof. Start by inspecting gutters and downspouts for clogs or damage that could impede water flow. Clogged drainage can cause water to back up onto the roof, creating an ideal scenario for leakage. Regular checks and cleanings are imperative to maintain optimal function, especially after storms.
Ensuring that your drainage system is appropriately designed and installed for your specific roof is also a cornerstone of leak prevention. If you’re uncertain about the state of your drainage system, consider seeking a professional evaluation. Simple changes or upgrades can have significant impacts on preserving your roof’s lifespan. Remember, proper roofing care will always be a sound investment in the protection of your property.
Step 1: Inspect the Roof for Damage
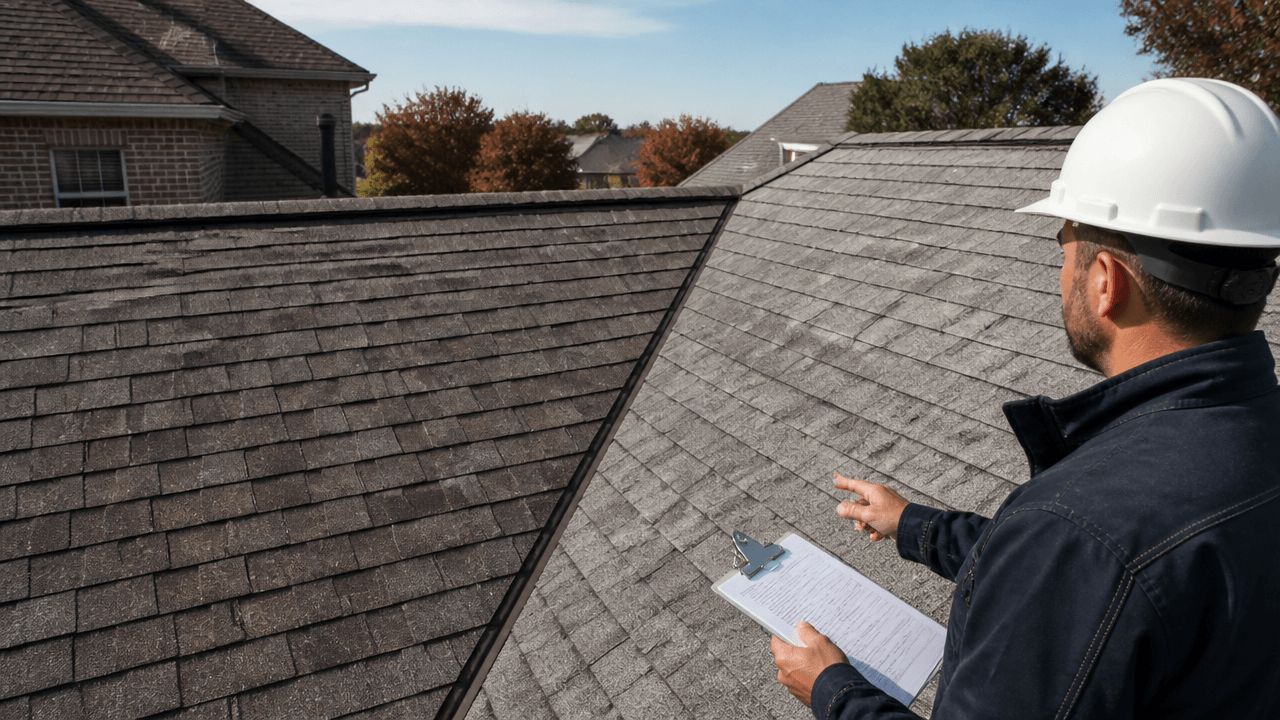
Begin by carefully inspecting your low slope roof for any signs of leakage. Look for areas with pooled water, cracks, blisters, or tears in the roofing material.
Step 2: Clean the Affected Area
Once you have identified where the leak is coming from, clean the affected area thoroughly. Remove any debris, dirt, and standing water, as these can hinder the repair process.
Step 3: Evaluate Roof Draining System
Check the drainage systems, including gutters and downspouts, to ensure they are not clogged. Proper drainage is crucial in preventing water accumulation on a low slope roof.
Step 4: Repair or Replace Damaged Roofing Material
Depending on the extent of the damage, repair (with roofing cement or a waterproof membrane) or replace the damaged sections of the roofing material.
Step 5: Apply Roof Sealant
Applying a roof sealant can assist in preventing future leaks. Use a product appropriate for your specific roofing material and ensure it’s evenly applied.
Step 6: Install Additional Waterproofing
For added protection, consider installing a waterproofing layer across the entire roof. This step is crucial if your area is prone to heavy rains and storms.
Step 7: Regularly Maintain Your Roof
Schedule regular maintenance checks for your low slope roof to catch and address leaks before they become larger issues.
Step 8: Monitor Roof after Repairs
After the repairs are made, continue to monitor the roof, especially after rainstorms, to ensure that the leakage has been successfully remedied and no new issues have arisen.
Steering Clear of Common Roof Repair Mistakes
In the venture to maintain a robust low slope roof, being aware of common missteps can be as important as understanding the right measures to implement. Given that even minor leaks can lead to substantial structural issues, avoiding DIY pitfalls is crucial. Let’s address the typical mistakes that could derail your repair endeavors and dissect ways to steer clear from them effectively.
Mistake 1: Neglecting Safety Precautions
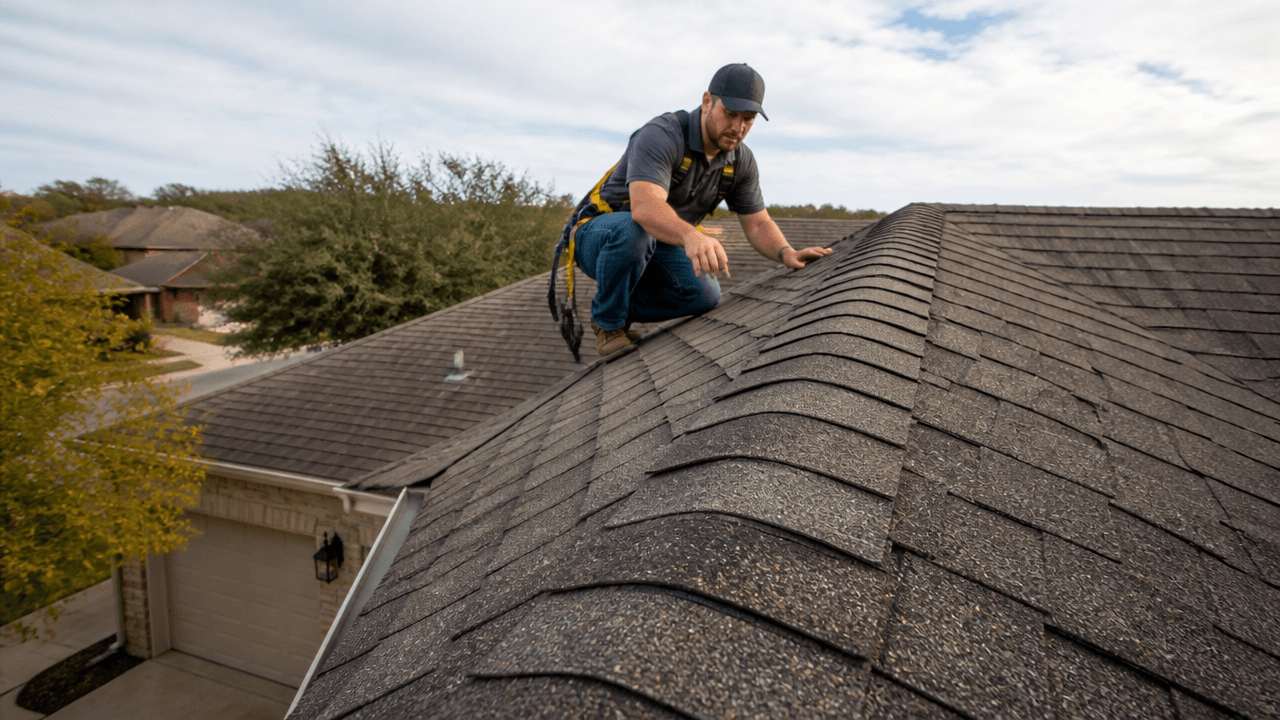
Neglecting to take the proper safety measures is a critical error. Always use a sturdy ladder, wear non-slip boots, and consider a harness system when inspecting your roof.
Mistake 2: Poor Leak Identification
Assuming where the leak originates without thorough inspection can lead to unnecessary repairs. Pooled water on a low slope roof can travel from the actual breach, so trace the leak back to its source before beginning any work.
Mistake 3: Inadequate Cleaning
Jumping into repairs without preparing the area can sabotage your efforts. It’s vital to remove all debris, dirt, and standing water to ensure the longevity of your repair materials and their adhesion.
Mistake 4: Ignoring the Drainage System
Overlooking the condition of gutters and downspouts invites future leakage. Ensure they’re unblocked and correctly aligned to prevent water from settling on your roof.
Mistake 5: Using Inappropriate Materials
Utilizing materials not intended for low slope roofs can result in a failed repair job. Use products specified for your roof type to avoid exacerbating the issue.
Mistake 6: Inconsistent Maintenance
Postponing regular inspections and maintenance can speed up your roof’s deterioration. Schedule routine checks, especially after extreme weather to nip new leaks in the bud.
Repair or Replacement: Securing Your Investment
In discerning whether to repair or replace damaged roofing materials, a careful assessment is imperative. For minor issues, applying a bit of roofing cement may suffice; however, substantial areas of damage may necessitate the installation of a new waterproof membrane. This decision not only affects immediate waterproofing success but also the long-term resilience of your property’s roof against the Texas climate.
Finalizing the Repair: Applying the Sealant
The application of a high-quality roof sealant is the next critical step to ensure a water-tight finish. Selecting the right product designed for low slope roofs will offer enduring protection and peace of mind during Dallas’s severe weather swings. This preventative measure goes hand-in-hand with the comprehensive roof repair services provided by Imperial Roofing, safeguarding your home or business from common roofing problems.