• Discover how to effectively utilize a Roof Inspection Checklist following storm damage
• Learn essential steps for assessing roof integrity and safety post-storm
• Understand the benefits of enlisting professional roofers to ensure thorough inspections and repairs
Identifying Hazardous Signs
When the skies clear after a storm in Fort Worth, the first instinct might be to check the roof for damages, but safety should always be the priority. Before you grab a ladder, take a moment to assess the surroundings for any immediate threats such as downed power lines or broken branches that could pose a risk to your safety. It’s imperative to ensure that the area is secure before you begin any form of inspection—remember, a damaged roof can be fixed, but a personal injury might have lasting consequences. Should you encounter any potential dangers, stay clear and contact local emergency services to handle the situation professionally.
Recording Critical Storm Details
Once safety is assured, the next crucial step is to document the aftermath of the storm accurately. Record the exact date and time the storm hit, as this information is essential when dealing with insurance claims. Observe any distinguishing characteristics of the storm, like the intensity of the rain or the size of the hail, as these details can affect the type and extent of roof damage incurred. Persistent documentation is key—note every detail diligently, as it can greatly simplify the claims process later on.
Beginning the External Inspection
Now, with safety measures in place and documentation at hand, start with a preliminary ground-level inspection. From the safety of the ground, visually scan for clear signs of roof trouble—missing shingles or noticeable dents in gutters can all point to potential issues. Utilizing binoculars can grant you a closer look without the need for scaling heights, highlighting subtler damage you might miss from afar. This step serves as your first glimpse into the extent of the storm’s impact and directs the depth of your ensuing inspection efforts.
The Inside Story: Attic Inspection Post-Storm
After completing the external review, it’s time to move indoors—specifically, to the attic, which is often the first place where roof leaks become apparent. Use a flashlight to inspect for signs of water penetration, such as dark streaks on the wood or damp insulation, which can be precursors to more significant damage. An attic check post-storm isn’t just about spotting current problems; it’s about preventing potential future complications that unseen moisture can cause, such as mold growth or structural decay. Mark any suspect areas with tape or another indicator, so they’re easy to locate for a roofing professional evaluating the need for repair or replacement.
Documenting Damage: The Key to Claims
As you identify and assess the issues, remember that thorough documentation is your best ally in the world of claims and repairs. From the smallest water spot to major structural harm, photograph all damages from multiple angles to provide a clear account of the impact. These visuals become part of your storm damage dossier, serving as invaluable evidence when liaising with insurance adjusters or imperialroofing.net for a comprehensive professional assessment. Detailed records not only facilitate smoother claims processing; they also ensure that you have a benchmark for future inspections, helping to track the integrity of your roof over time.
Step 1: Assess for Immediate Hazards
Before inspecting your roof for storm damage, ensure it is safe to do so. Check for downed power lines, unstable trees or branches, and damaged gas lines. If any immediate hazards are present, contact emergency services before proceeding.
Step 2: Document the Date and Time of the Storm
For insurance purposes, it’s important to record when the storm occurred. Note the date and time, as well as any significant details about the weather conditions, such as hail size or wind intensity.
Step 3: Conduct an Exterior Inspection
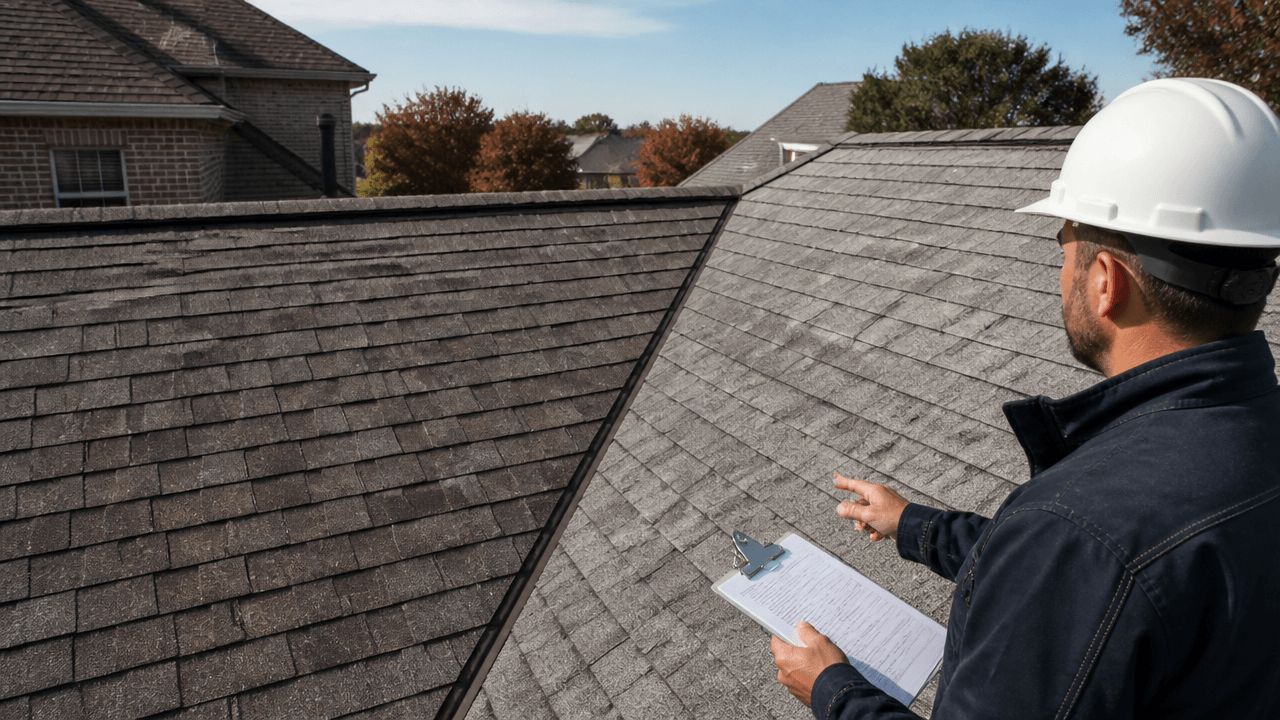
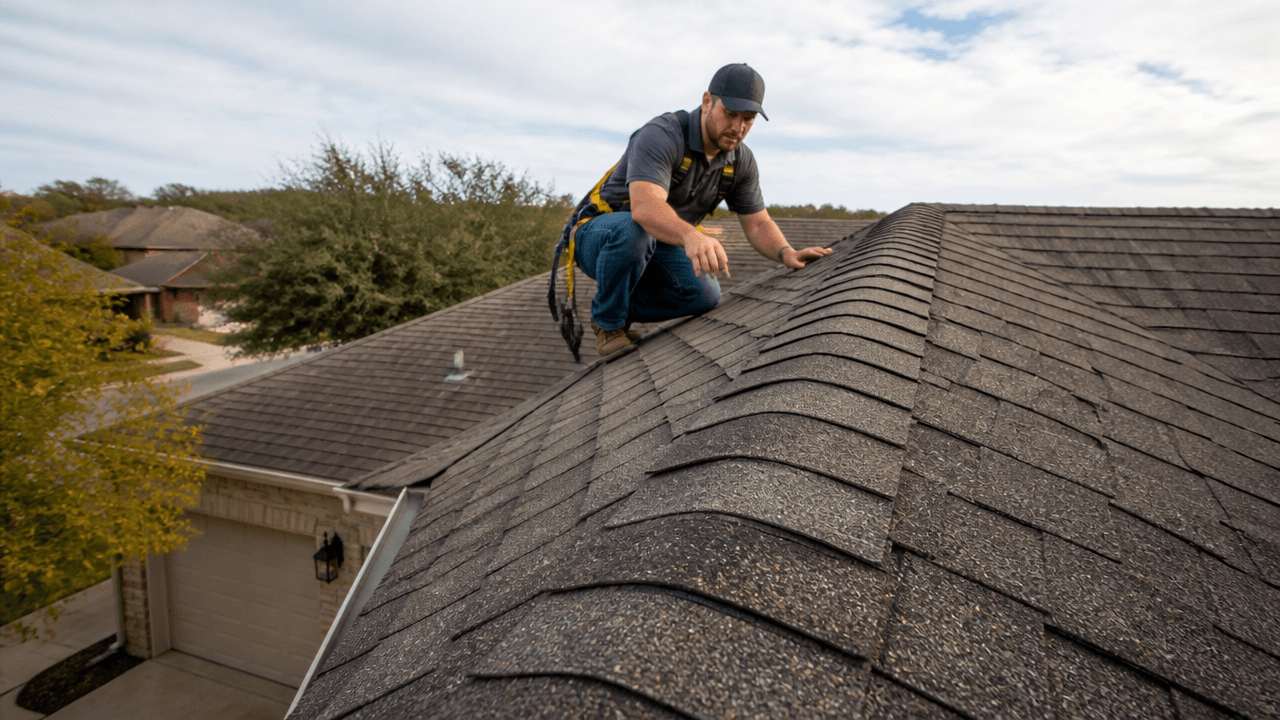
Begin with a ground-level inspection of your Fort Worth, TX home. Look for obvious signs of damage, such as missing shingles, dents in your gutters, or fallen debris. Use a pair of binoculars to get a closer view of the roof.
Step 4: Check Your Attic for Leaks or Water Damage
Head inside and inspect your attic space. Use a flashlight to look for water stains, mold, or damp insulation. If you detect moisture, mark these areas so you can mention them to a professional for further inspection.
Step 5: Take Photos of All Damages
As you identify areas of concern, take clear photos from multiple angles. These photos will be critical when you file an insurance claim or request repairs.
Step 6: Review Your Roof Inspection Checklist
Using your “storm damage roof inspection checklist,” go through each item systematically. This will help you to not overlook smaller or less obvious issues.
Step 7: Contact a Professional Roofing Inspector
For a thorough examination, reach out to a local Fort Worth roofing expert. They can provide a more detailed assessment and advise on the necessary repairs.
Step 8: Get In Touch With Your Insurance Company
Once the inspection is complete, contact your insurance company to report the damage. Provide them with the information you’ve gathered, including the date of the storm, photos, and notes from both your self-inspection and the professional’s assessment.
Common Pitfalls in Post-Storm DIY Roof Inspections
In the pursuit of assessing storm damage, homeowners often jump into action without full awareness of potential missteps. These errors can lead to inaccurate assessments, overlooked damage, and even personal injury. It’s essential to approach DIY roof inspection with caution, armed with knowledge and understanding of common mistakes to avoid.
Mistake 1: Ignoring Safety Hazards
Many homeowners focus on the roof without assessing the safety of their surroundings. Overlooking downed power lines or damaged trees can lead to dangerous situations. Always perform a thorough check for hazards and leave the assessment to professionals if the area is not secure.
Mistake 2: Poor Documentation
A frequent oversight is not recording the damage immediately after the storm, which can lead to disputes with insurance claims. Document the event and damages meticulously, noting the date, time, and weather conditions during the storm, and take detailed photos of all damages.
Mistake 3: Inadequate Exterior Inspection
Some may hastily inspect the roof from the ground without using the proper tools, missing subtle signs of damage. Employ binoculars and follow a systematic approach to ensure you spot all issues, including those that are not immediately apparent from the ground level.
Mistake 4: Neglecting Interior Inspection
Forgetting to inspect the attic is another common error. Water stains, mold, or damp insulation can indicate significant issues, so use a flashlight to conduct a thorough interior inspection and mark areas of concern for professional evaluation.
Mistake 5: Incomplete Damage Documentation
Taking too few photographs or neglecting to capture multiple angles can weaken an insurance claim. Ensure you take comprehensive photos from various perspectives to unequivocally establish the extent of the damage.
Mistake 6: Not Adhering to the Checklist
Neglecting to methodically go through your roof inspection checklist can result in missed damage. Review each item without rush, as this diligence is crucial for a complete assessment and for future reference should any issues arise.
Mistake 7: Delaying Professional Inspections
Homeowners often wait too long to bring in an expert, risking further damage. After your initial assessment, promptly contact a local Fort Worth roofing professional for an in-depth inspection, especially when structural concerns are suspected.
Mistake 8: Not Reporting to Insurance Timely
Failing to immediately contact your insurance provider with your findings can lead to complications with claims. As soon as the inspection is complete, provide them with your curated documentation, including notes and photographs.
Proceeding with Precision: Your Checklist in Action
With a keen eye and the right information, navigating through your storm damage roof inspection checklist becomes a structured and efficient process. Each item on the list is a step towards understanding the full scope of any damage and what actions are necessary for the safety and longevity of your home. Reviewing the checklist systematically ensures that no shingle goes unturned, providing a comprehensive picture of your roof’s condition for insurance or repair purposes.
Securing Professional Expertise
While self-inspection is an excellent first step, certain roofing complications are best left to the professionals. Securing the trained eye of an expert can reveal issues that are not immediately apparent to the untrained observer—such as subtle structural damage that could lead to complications down the line. Engaging with Imperial Roofing’s residential roofing services offers peace of mind, with thorough assessments and recommendations drawing from years of specialized experience in the Fort Worth region.