• Identify signs of heat damage on asphalt shingles, such as curling, blistering, or cracking, to address immediately
• Follow a step-by-step guide on repairing your shingles, ensuring use of the right materials for high temperatures
• Learn why routine inspections and applying heat-reflective sealant post-repair are crucial for lasting protection
Understanding the Signs of Heat Damage
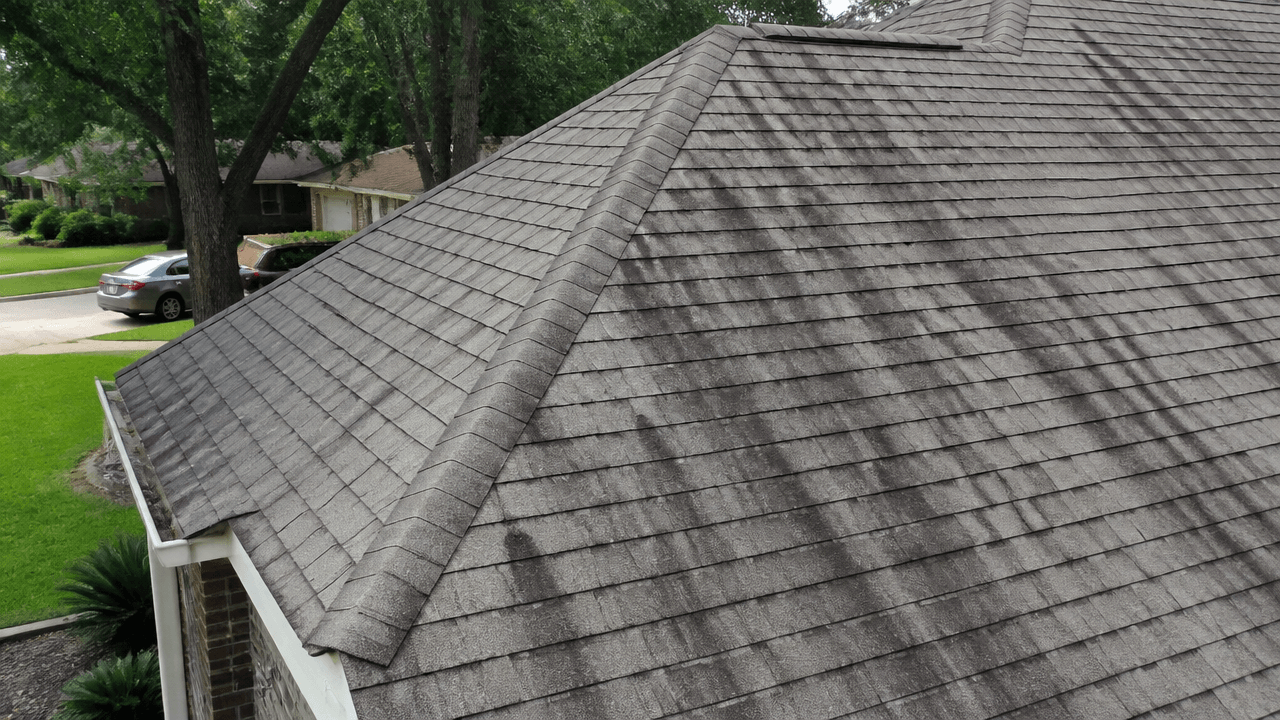
In the heat of a Plano, TX summer, asphalt shingles on your roof can show telltale signs of wear that demand your attention. Curling edges on shingles are a classic symptom, signaling that the material is reacting to the extreme temperatures by warping. Blistering is another concern, where small, bubble-like protrusions form on the surface, hinting at underlying moisture issues or ventilation problems. Lastly, cracking can become apparent, leaving your roof vulnerable to water infiltration and further damage.
Gearing Up for Inspection and Repair
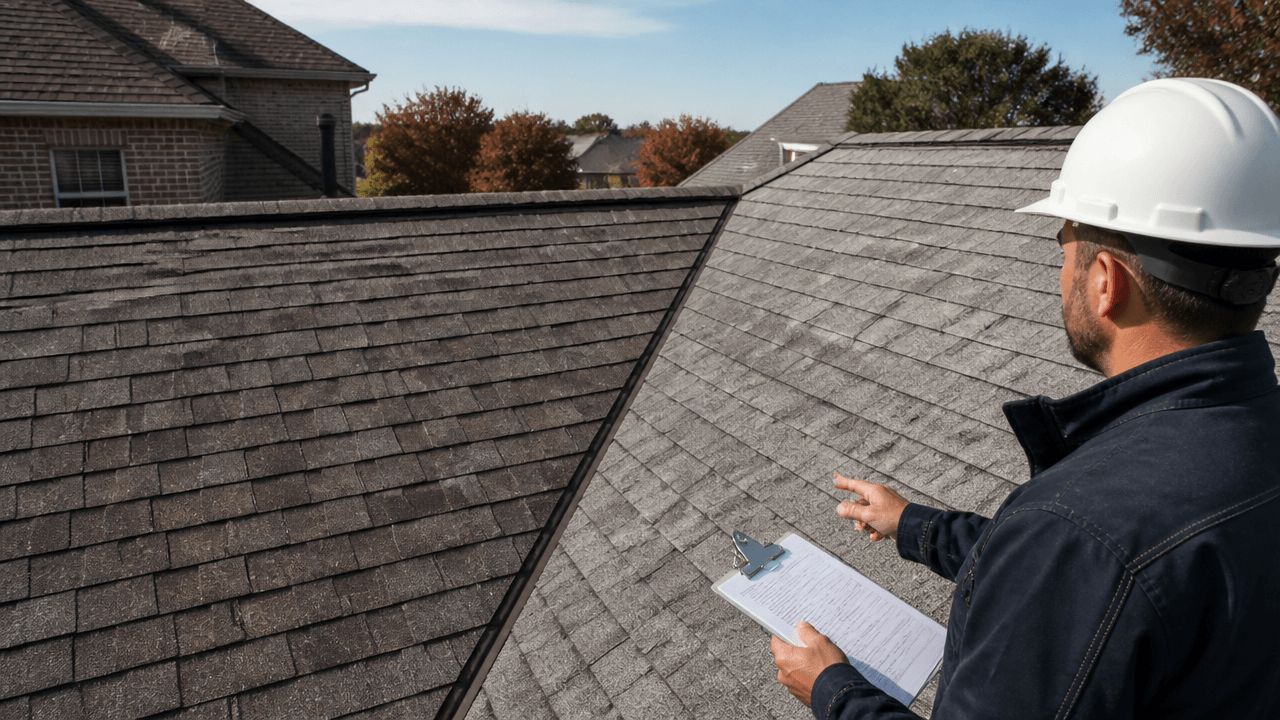
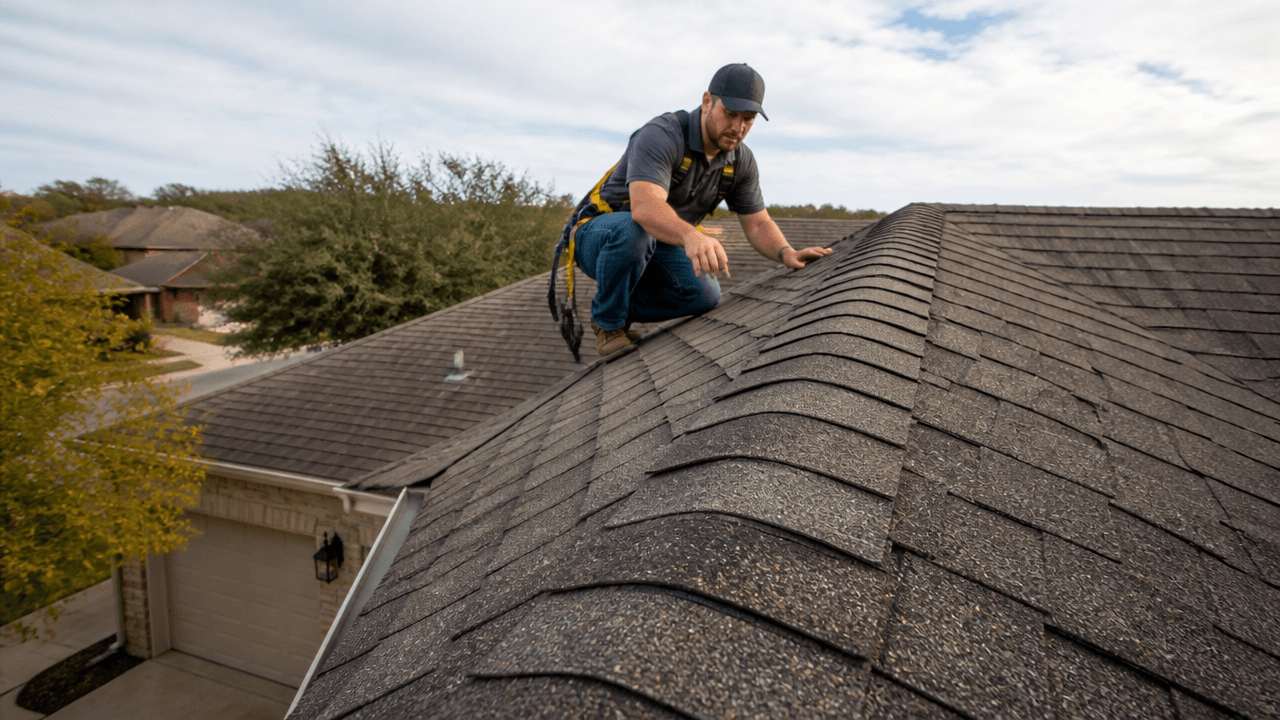
Before you embark on the critical journey of repairing your roof, it’s vital to equip yourself adequately for the task. Early morning or late evening are the best times to conduct your inspection, enabling you to avoid the midday heat that can skew your evaluation and put you at risk. As you canvas your roof, take note of the areas where damage seems most prevalent—this will be your focus during repairs. With a clear plan of action, you can proceed confidently and safely in restoring your roof’s integrity.
Preparatory Steps for Asphalt Shingle Repair
Once the problematic shingles have been identified, it’s crucial to begin preparations for their removal. Smoothly prying away these damaged pieces requires not only a gentle hand to preserve the surrounding good shingles but also a strategic approach to avoid additional damage. Ensure to dispose of the weather-worn shingles responsibly, as you clear the way for new, resilient materials designed to withstand Plano’s soaring summer temperatures. This preliminary step is the bedrock of an effective repair process, setting the stage for a strong and lasting roofing solution.
Selecting the Right Materials for High-Temperature Repairs
When undertaking asphalt shingle repair in high temperatures, choosing materials that can withstand the heat is paramount. A visit to your local hardware store will help you find roofing cement and shingles rated for high-temperature performance. Remember, investing in heat-resistant materials is not just a short-term fix; it’s about ensuring your repairs last, providing enduring protection against the sweltering Plano sun. Furthermore, appropriate tools like a putty knife, roofing nails, and a hammer are essentials to facilitate a smooth repair process.
Executing the Repair with Precision and Care
Armed with the right materials, the actual repair process needs to be executed with precision. Carefully pry away the damaged shingles with a flat bar, taking care not to damage the underlying roofing structure. Once the area is clean and prepped, your new heat-resistant shingles, secured with the proper adhesive, will ensure your roof stands strong despite the heat. The meticulous application of roofing adhesive not only fortifies the shingles’ placement but also provides an additional barrier against future heat damage.
Step 1: Inspect Your Roof
Check your asphalt shingles for signs of heat damage. Look for curling, blistering, or cracking. Do this in the early morning or evening to avoid the peak heat times.
Step 2: Gather Your Materials
Assemble all necessary tools and materials like roofing cement, a putty knife, roofing nails, and a hammer. Opt for heat-resistant materials suitable for high temperatures.
Step 3: Remove Damaged Shingles
Carefully pry away damaged shingles using a flat bar. Do this gently to avoid harming the surrounding good shingles. Dispose of all damaged materials properly.
Step 4: Prepare the Area
Clean the exposed area thoroughly, removing any debris, granules, or remnants of roofing cement to ensure a clean surface for the repair.
Step 5: Cut New Shingles
Measure and cut replacement shingles to fit the exposed area. Ensure they match the existing shingles in color and design for a seamless repair.
Step 6: Apply Roofing Cement
Spread a generous layer of roofing cement under the spot where the new shingle will be placed. This helps protect the underlayment and secure new shingles.
Step 7: Install New Shingles
Place the new shingles onto the prepared spot, pressing firmly into the cement. Fasten them with roofing nails and then apply a small amount of roofing cement over the nail heads for extra security.
Step 8: Seal and Protect
Apply a coat of a heat-reflective sealant to the repair area and surrounding shingles. This helps protect against future heat damage and extend the roof’s lifespan.
Common Mistakes to Avoid During DIY Asphalt Shingle Repair
Repairing asphalt shingles in high temperatures is a challenge that can lead to common mistakes if not done cautiously. Overlooking these errors can result in further damage to your roof and additional costly repairs. Let’s look at some of the frequent pitfalls homeowners face and how you can circumvent them for a successful DIY repair job.
- Mistake 1: Inspecting at the Wrong Time
– Inspecting your roof during the hottest part of the day not only poses a risk to your safety but can also lead to an inaccurate assessment of damage. To prevent this mistake, always inspect your roof during the early morning or late evening when temperatures are milder. - Mistake 2: Inadequate Materials
– Using materials not suited for high temperatures can lead to premature wear and the need for repeated repairs. To avoid this, always select heat-resistant materials specifically designed to withstand Plano’s summer heat. - Mistake 3: Rough Removal of Shingles
– Being too forceful when removing damaged shingles can damage the good ones around them. Gently pry away the shingles with a flat bar and ensure you dispose of them properly to maintain the integrity of the entire roof. - Mistake 4: Poor Area Preparation
– Failing to clean the area properly before installing new shingles can prevent the roofing cement from adhering correctly. Ensure that all debris, granules, and old cement are removed for a clean surface that is ready for repair. - Mistake 5: Mismatched Shingle Replacement
– Incorrectly measured or mismatched shingles can lead to improper sealing and gaps in the roof’s structure. Always measure and cut the new shingles to match the existing ones and ensure a seamless repair. - Mistake 6: Skimping on Roofing Cement
– A common error is not using enough roofing cement or not spreading it properly under the new shingle. Apply a generous layer to protect the underlayment and secure the new shingles firmly in place. - Mistake 7: Insufficient Sealant
– The final mistake is neglecting to apply a heat-reflective sealant or not covering the entire repair area. Applying the sealant ensures your repair work stands up to future high temperatures, significantly extending the life of your roof.
Final Steps to Ensure Longevity
With the new shingles securely in place, it’s important to not overlook the final step of applying a heat-reflective sealant. This sealant acts as an extra protective layer, reflecting the harsh sunlight and helping to prevent similar heat damage in the future. Regular maintenance and inspections further prolong the life of your roof, ensuring it can withstand the test of time and temperature.
Maintaining Your Repaired Roof
Post-repair, taking proactive steps can avoid the need for frequent repairs. Scheduling routine inspections, especially after extreme weather conditions, can catch minor issues before they escalate. The occasional application of preventive treatments can also maintain the structural integrity of your asphalt shingles even in the relentless Texas heat.