• Essential inspection tools: Notepad, camera, ladder, protective gear for safety and thorough examination
• Key areas to check: Roof, gutters, siding, windows, doors, foundation, exterior paint, caulking
• Common mistakes: Overlooking safety, missing subtle roof damage, ignoring minor siding cracks, neglecting gutter debris
Understanding Home Exterior Warning Signs
Your home’s exterior is its first line of defense against the elements, and identifying problems early can save you time and money in the long run. Before delving into our essential inspection checklist, it is crucial to recognize the warning signs that call for a closer examination. Cracked or missing shingles on your roof can be a telltale sign that repairs are necessary. Similarly, gutters cluttered with leaves and debris may hint at potential water damage to your home’s foundation or siding.
Checking the sides of your residence should not be overlooked, as the condition of your siding tells a story of your home’s health. Warping, cracks, or rot can indicate moisture problems or even pest infestations waiting to happen. When inspecting windows and doors, pay attention to drafty frames or condensation—these issues can not only compromise your home’s insulation but also lead to increased energy bills.
Lastly, don’t underestimate the ground that holds it all together; the foundation of your home is key to its longevity. Visible cracks or uneven floors inside your home may suggest foundation movements that need professional attention. Remember, regular maintenance checks are an investment in your property, ensuring that it remains a safe and valuable asset for you and your family.
Key Steps for a Thorough Exterior Inspection
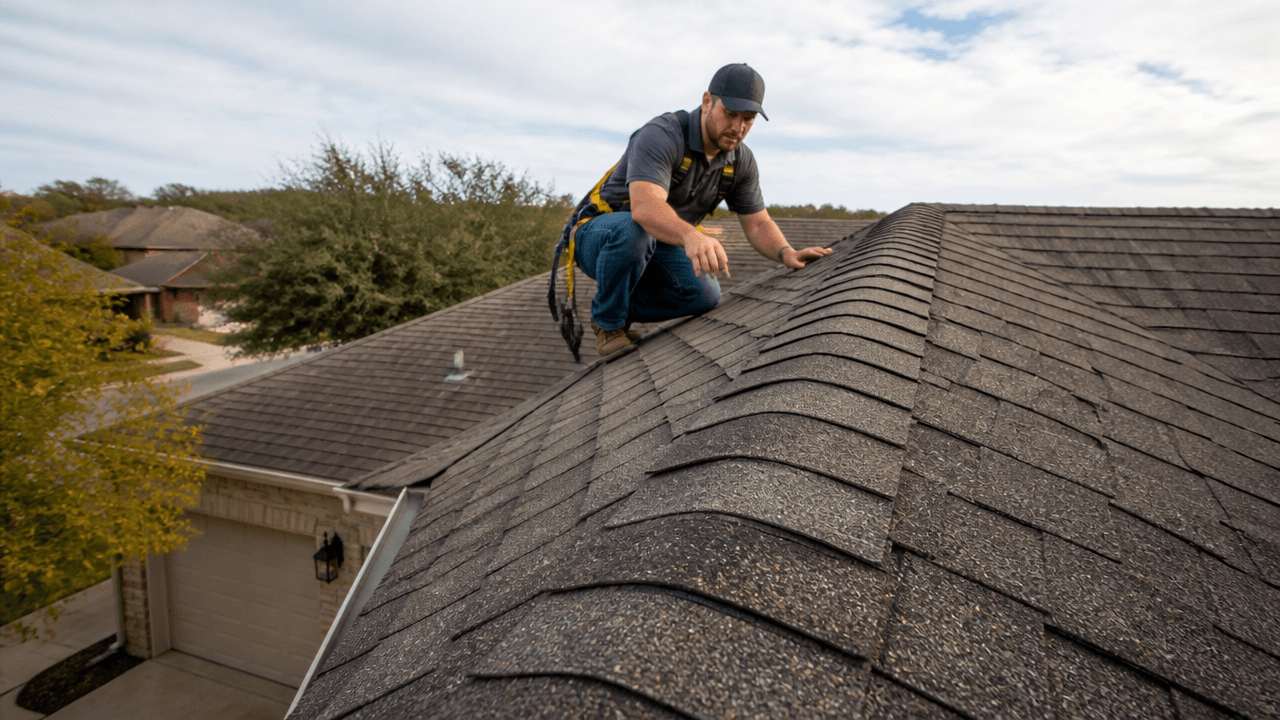
Commencing your home exterior inspection with the right tools is essential for accuracy and safety. With a notepad in hand, document every detail as you move around your property. A camera is your best ally, capturing the state of your roof, siding, and foundation for further analysis. Moreover, donning protective gear and securing a stable ladder are critical steps to safely access and evaluate high and hard-to-reach areas.
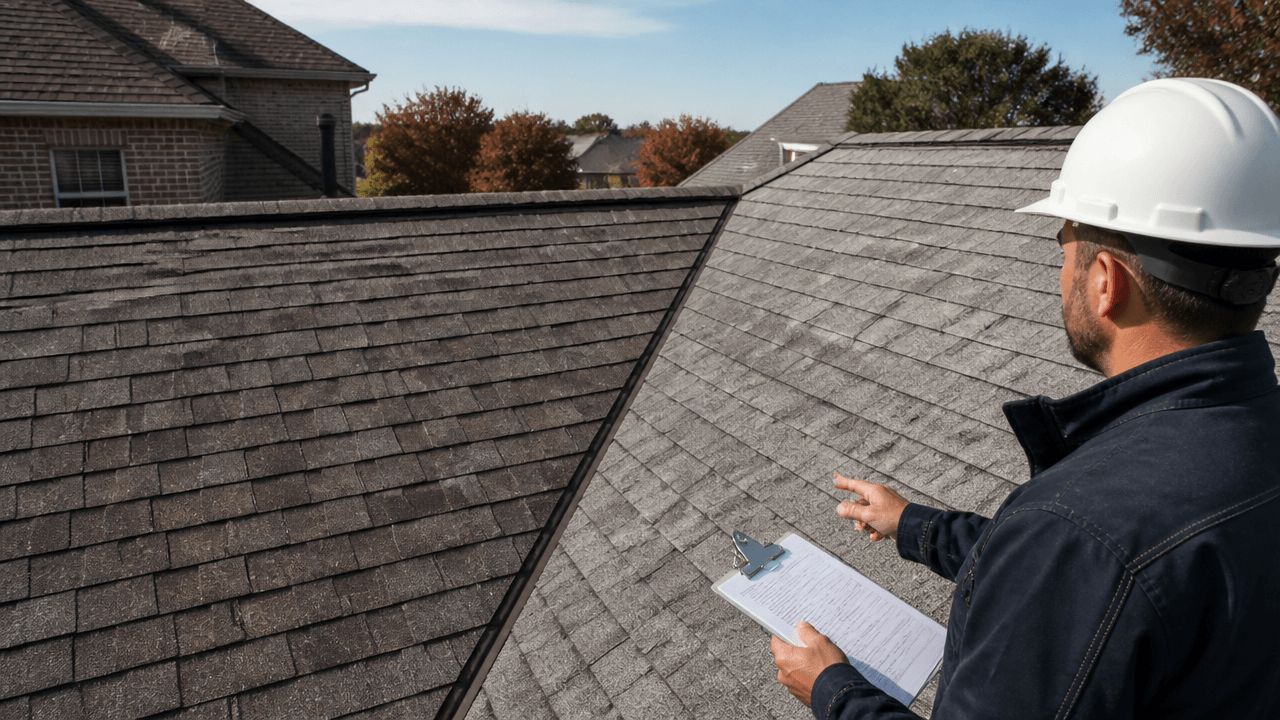
Examining the roof is a delicate but vital part of the inspection process. Each shingle should be scrutinized for damage, and vents must be checked to ensure they are unobstructed and functioning properly. In your gutters, look for any obstructions that could cause water to back up and damage your home. Imperial Roofing stands ready to assist, offering comprehensive residential roofing services to address any issues uncovered during your inspection.
Identifying and Documenting Potential Problems
When the walls and siding of your home are in question, keep an eye out for any irregularities that could signal water infiltration or pest intrusions. Paying special attention to the areas that collect moisture can prevent future complications from arising. Your windows and doors are not only the entry points into your home but also key indicators of energy efficiency; ensure that their seals and frames are intact. Finally, use your inspection checklist to prioritize and plan any necessary repairs or consultations with professionals to keep your home in peak condition.
Step 1: Prepare Your Inspection Tools
Gather a notepad, camera, ladder, and protective gear. A thorough inspection will include looking at hard-to-reach areas, so safety is paramount.
Step 2: Check the Roof
Examine shingles, flashing, and vents for signs of damage or wear. Take photos of any issues for reference during repairs.
Step 3: Inspect Gutters and Downspouts
Ensure gutters are free of debris and water flows freely. Downspouts should direct water away from the foundation.
Step 4: Evaluate Siding and Walls
Look for cracks, warping, or rot. Pay special attention to areas where water might collect or insects could enter.
Step 5: Assess Windows and Doors
Check for gaps, faulty seals, and damage to frames that could impact insulation and security.
Step 6: Survey the Foundation
Identify any cracks or movement that could suggest structural issues, paying extra attention to areas near water spouts.
Step 7: Review Exterior Paint and Caulking
Peeling paint and deteriorating caulk can lead to moisture problems, so note any areas that need touch-ups.
Step 8: Document and Plan Repairs
Compile your findings and photos into a checklist. Prioritize the repairs based on severity and plan a schedule for maintenance or professional consultation.
Common Mistakes to Avoid During Home Exterior Inspections
When homeowners take on the task of inspecting their exteriors, common oversights can result in missed issues or even personal injury. It’s important to approach these inspections with caution and thoroughness to ensure nothing is overlooked. Here we’ll discuss several mistakes that can occur and provide guidance on how to avoid them.
Mistake 1: Neglecting Safety Precautions
Not wearing protective gear or using an unstable ladder can lead to serious accidents. Always prioritize your safety by using appropriate equipment and ensuring everything is properly set up and secure before ascending.
Mistake 2: Superficial Roof Examination
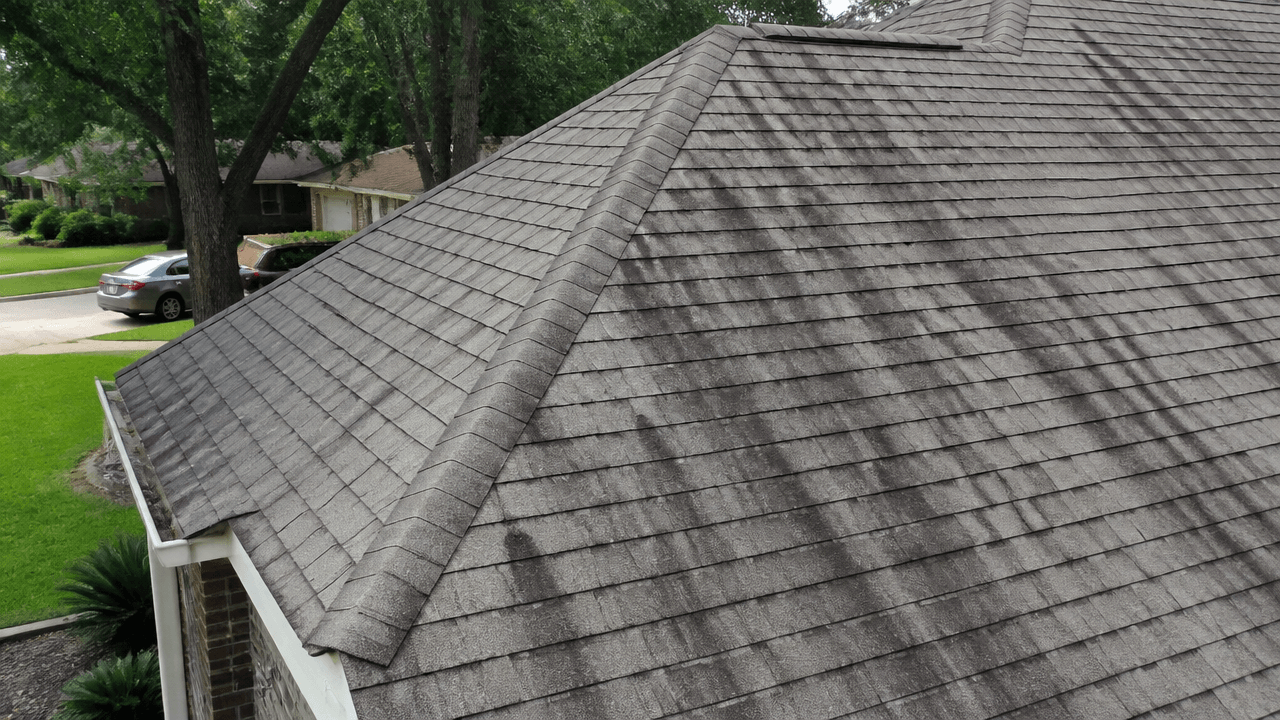
A quick glance at the roof is not enough. Damage can be often subtle, so take the time for a comprehensive review, using your notepad and camera to document any potential issues.
Mistake 3: Overlooking Gutter Blockages
Ignoring small debris in gutters can lead to blockages over time. Clear out gutters thoroughly to prevent water damage, especially in areas prone to heavy rain like Plano, TX.
Mistake 4: Disregarding Minor Cracks in Siding and Walls
Small cracks and warping might seem insignificant, but they can be harbingers of larger problems. Inspect these carefully and consider the consequences of moisture penetration to prevent structural damage.
Mistake 5: Assuming Seals Are Intact
Assuming seals around windows and doors are airtight can be costly. Check for drafts and visible gaps that could affect energy efficiency and fix these promptly.
Mistake 6: Neglecting Foundation Checks
Skipping the foundation check because there are no immediate signs of sagging can be a critical error. Regularly inspect for any signs of movement or cracking to catch issues before they escalate.
Mistake 7: Ignoring Peeling Paint and Caulk
Peeling paint and old caulking may not seem urgent, but they are your home’s shield against moisture. Address these issues as they arise to protect your home’s exterior from water infiltration.
Mistake 8: Not Having a Repair Plan
Failing to prioritize repair tasks after the inspection can lead to more significant issues. Create a documented action plan to address the most urgent repairs first, ensuring your home remains safe and sound.
Finalizing Your Home Exterior Assessment
Once your inspection is complete, it’s essential to compile the data you’ve gathered into a coherent checklist. This action plan will be your roadmap for any maintenance, repair, or professional service needed to address the issues you’ve discovered. Imperial Roofing can provide expert insight and a range of solutions, found on their general contracting page, to ensure your home remains pristine and well-maintained.
Maintain Your Home’s Integrity
Regular home exterior inspections are not just about problem detection; they’re part of a proactive strategy to maintain your property’s value and safety. By prioritizing and scheduling repairs based on your inspection findings, you can prevent minor issues from becoming major expenses. Ensure your home’s longevity and aesthetic appeal by consulting with seasoned professionals who can guide you through necessary repairs and improvements.