• Step-by-step guide on detecting and repairing roof leaks
• Professional tips for choosing the right materials and tools
• Reasons why consulting with a roofing expert is beneficial
Recognizing the Culprits Behind Your Roof’s Distress
A roof in distress exhibits clear signs that require a homeowner’s immediate attention. Whether it’s a subtle watermark on the ceiling or an unmistakable drip, these indicators suggest a compromised roof integrity. In particular, during Austin’s chilly winter months, when homes are subject to fluctuating weather patterns, being vigilant of these symptoms is crucial. Inspecting the underside of your roof for stains can help trace the path back to the origin point, signifying potential leak sources.
One cannot overlook the significance of roof penetration points when investigating leaks. Components such as vents and chimneys are frequent leak contenders due to their disruption of the roof’s uniform surface. It’s these interruptions, if not properly sealed or installed, that can act as gateways for water ingress. Homeowners should prioritize a cursory check around these penetrations as a preventative measure against water damage.
Flashings and shingles serve as a roof’s first line of defense against the elements, and their deteriorating conditions are often harbingers of leakage. Flashing, though a small component, plays a pivotal role in water-tightness and when compromised, peppering your interiors with unpleasant surprises becomes a risk. Therefore, keeping an eye out for cracks, breaks, or loose flashings, and shingles can preclude the necessity for more extensive repair works in the future.
Initiating the Hunt for Leaks
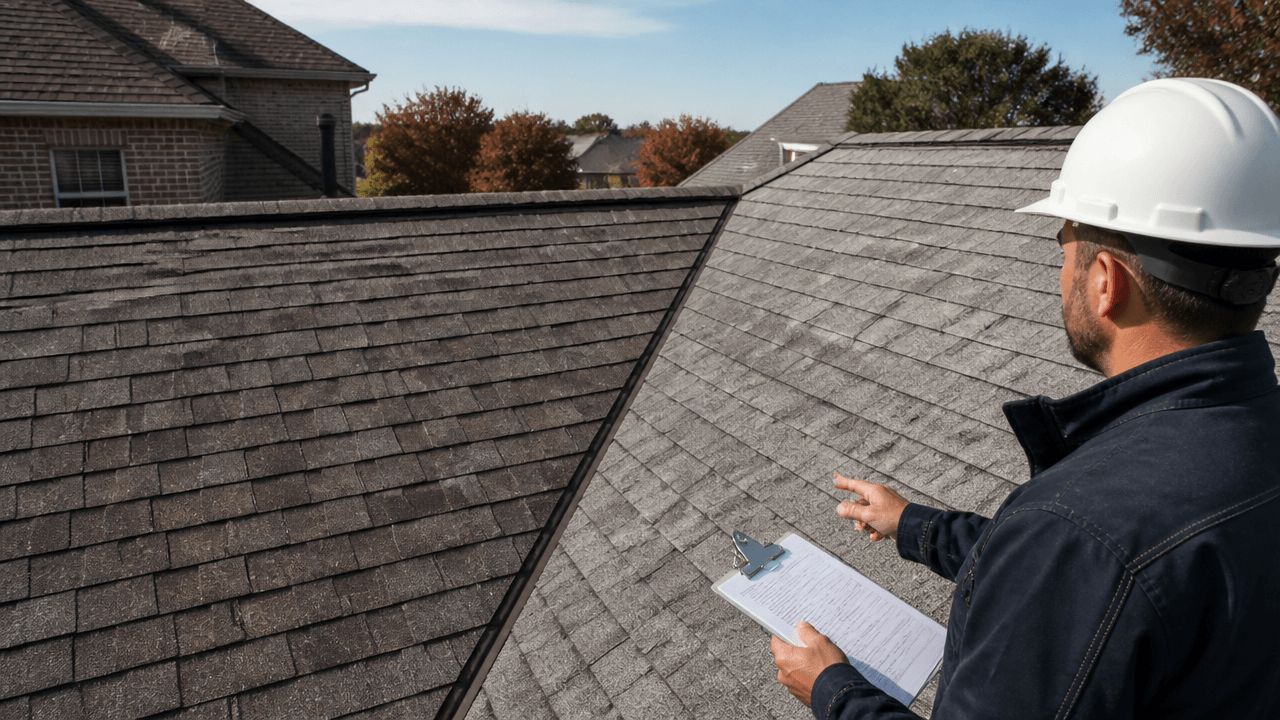
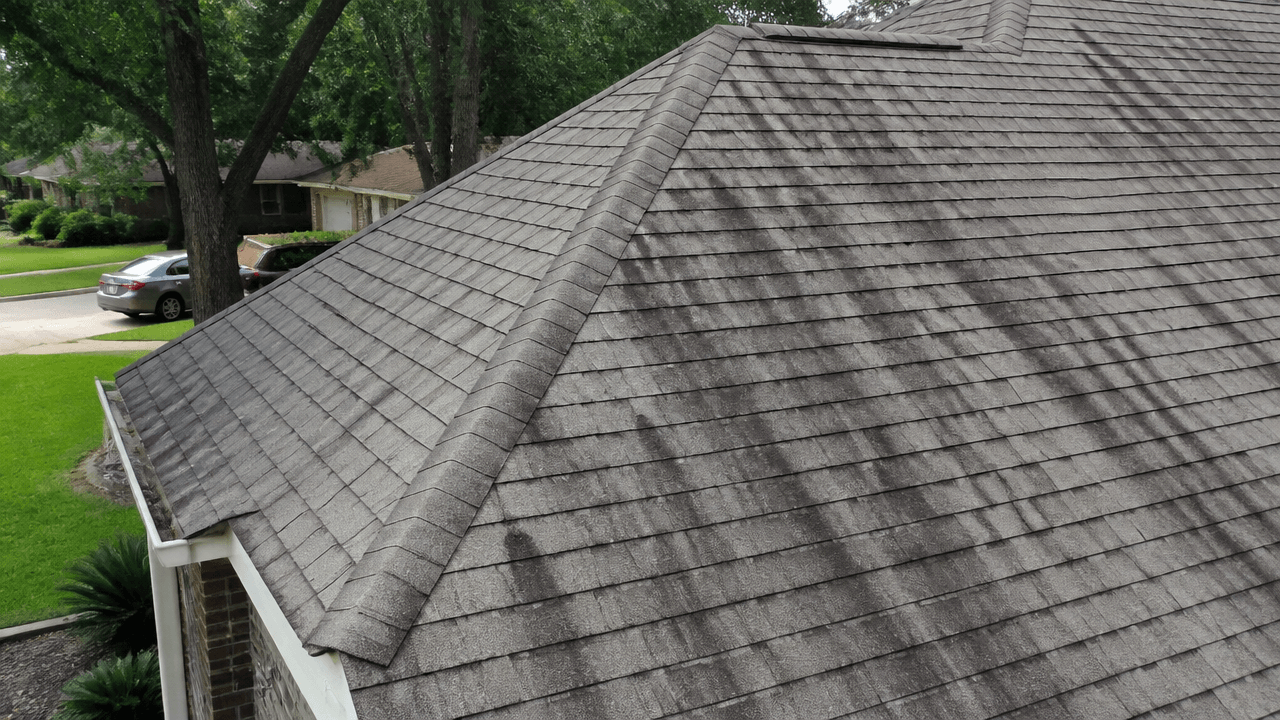
Leak detection begins with a visual survey of the roof’s exterior, paying close attention to any anomalies. Surveying from the roof’s peak downward through areas susceptible to water entry, such as valleys or low points, is essential. The presence of moss or algae can indicate long-term moisture and point towards potential leak spots. It is often necessary to clean these growths away to reveal the true condition of the underlying roofing material.
After the external review, the search moves to the attic—often the first place where leaks make their presence known. One should look for points of light streaming through the roof or stains and streaks – indicators of water taking an unwelcome path into the home. Pay special attention to the insulation; if it is wet or has a damp smell, it’s a telling sign that water has breached the roof’s defenses. Experts, like those at Imperial Roofing, can further assist in uncovering the subtler signs of roofing leaks.
Smart Maintenance: Guarding Against Future Leaks
Proactive attention to roof maintenance is the best strategy to prevent leaks before they start. This includes regular cleaning of gutters and downspouts to prevent blockages that could force water back under the shingles. Roof inspections should become a habit, especially after severe weather events common in Austin, TX. A quick review by a homeowner or a detailed check by a professional can save significant costs and hassles linked to unexpected repairs.
As cold Winter rains pervade Austin, it is imperative to be ready for its challenges. One must not underestimate small leaks, as they can quickly evolve into larger, more destructive issues if left unaddressed. Early detection and timely repairs, such as those offered by Imperial Roofing’s residential roofing services, can fortify your home against the ravages of the season. Remember, consistent roof upkeep is a smart investment that preserves the health and longevity of your home.
Step 1: Identify Possible Causes of Roof Leaks
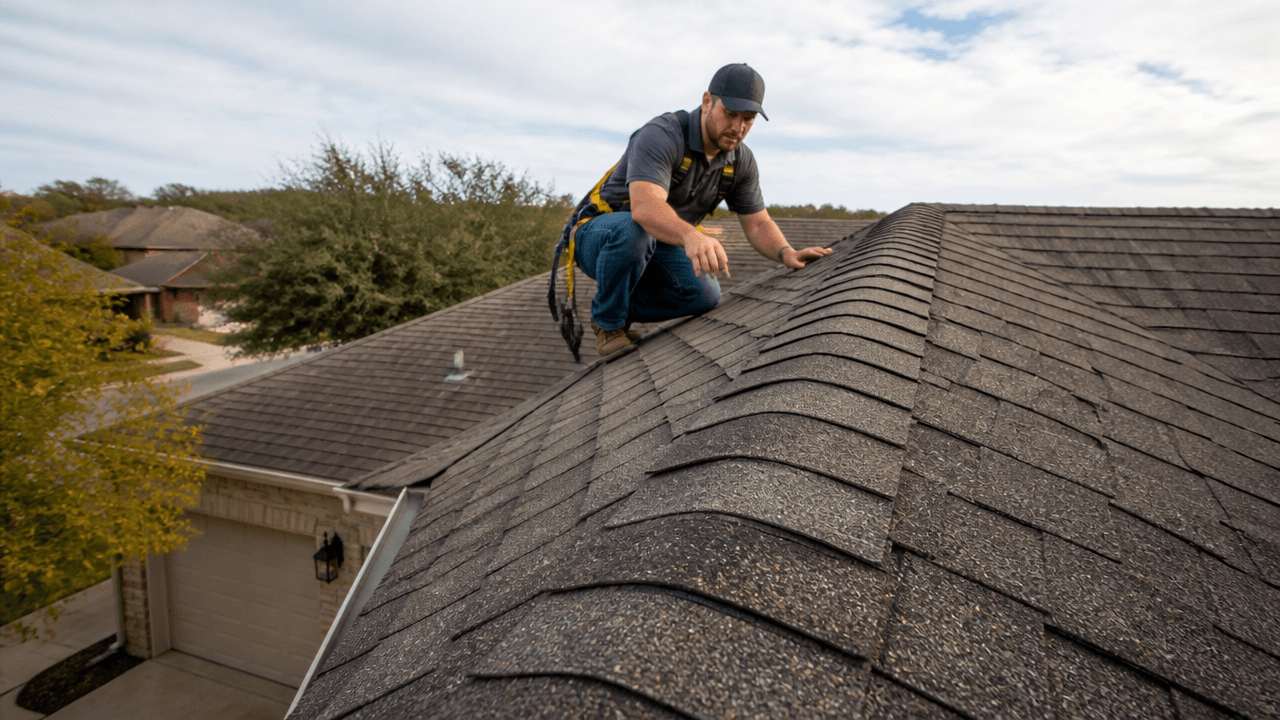
Begin your leak investigation by looking at the roof uphill from the stains. Check for any roof penetrations as they are the most common sources of leaks. Items that penetrate the roof are often to blame for leaks, including roof vents, chimneys, dormers, or anything else that projects through the roof.
Step 2: Inspect Roof Vents
Examine plastic roof vents for cracks and metal roof vents for broken seams. Then, check the rubber boot surrounding the vent pipes for tears, rotted rubber, or gaps. Any damage can let water seep through.
Step 3: Check for Cracked Flashing
Flashing—the thin pieces of metal that are installed under shingles and on the joints of your roof—create water-resistant barriers. Look for loose pieces of flashing or any section that has been penetrated.
Step 4: Inspect Shingles
Assess the condition of your shingles to see if any are missing, broken, or deteriorating. Look for shingles that are curled, cracked, or not in place, as these can be initiating leaks, especially during heavy rains in the Winter.
Step 5: Examine the Gutters
Ensure that gutters and downspouts are secured tightly to the roof and free of debris. Clogged gutters can cause water to back up and seep under roofing materials.
Step 6: Inspect the Attic
If your home has an attic, check for signs of water penetration under the roof. Look for wet rafters or beams, as well as water stains on the insulation.
Step 7: Seal Any Problem Areas
Once you’ve spotted where the leak is coming from, temporarily fix the issue by applying roofing tar to the affected area with a putty knife or seal any small holes with roof sealant.
Step 8: Consult a Professional
If your initial inspections don’t uncover clear sources, or you’re uncomfortable doing any of these steps, it’s important to call in a professional roofer for a thorough inspection and possible repair.
Steering Clear of Common DIY Roof Repair Mistakes
Embarking on a DIY roof repair can be a daunting task fraught with potential pitfalls. A successful repair requires not just the right materials and tools, but also a keen awareness of common mistakes. While the instinct to repair a leak immediately is understandable, avoiding these frequent errors can save you time, money, and further roof damage.
- Mistake 1: Ignoring Roof Penetrations – Many homeowners focus solely on shingles, but neglecting roof penetrations is a critical oversight. Vents, chimneys, and dormers are key leak sources. Prevent this by regularly inspecting these areas for damage and applying sealant as needed.
- Mistake 2: Incorrect Vent Inspection – Overlooking the condition of vent boots and seals can lead to leaks. Cracks in plastic vents or broken seams in metal ones should be addressed immediately to prevent water infiltration. Always replace damaged boots and seals, don’t just patch them.
- Mistake 3: Overlooking Flashing – Failed flashing is a leading contributor to leaks yet is often missed during inspections. Ensure flashing is securely fastened and without penetrations; if you find issues, remove the old flashing and replace it with a new piece to maintain an effective water barrier.
- Mistake 4: Improper Shingle Inspection – Not all shingle damage is obvious. Look for subtle signs such as minor cracks or curling, which are precursors to leaks, especially in winter weather. Replace damaged shingles rather than attempting short-term repairs.
- Mistake 5: Neglecting Gutters – Clogged or poorly attached gutters can lead to water backup under the shingles. Regularly clean gutters and secure any loose parts to ensure proper water flow away from the roof.
- Mistake 6: Unchecked Attic Space – A leaky roof often makes its first appearance in the attic. Overlooking attic inspections can result in undiscovered leaks. Always include the attic in your periodic roof checks to catch any early signs of water intrusion.
- Mistake 7: Temporary Fixes as Permanent Solutions – Using roofing tar for quick fixes can be tempting, but it’s not a long-term solution. Use these measures sparingly and plan for a more durable repair soon after.
- Mistake 8: Hesitating to Call Experts – When in doubt, consult professionals. The complexities of a proper roof repair are often underestimated. Enlisting the expertise of a roofer ensures a thorough and accurate repair, avoiding the escalation of the problem.
The Final Check: Sealing the Deal Against Leaks
During the inspection process, if you discover minor issues, prompt action can save you from larger headaches down the line. Simple DIY fixes such as applying roof sealant to small gaps or replacing a handful of shingles can be effective temporary measures. However, for more comprehensive protection, it’s wise to involve experts from a service like Imperial Roofing, who can ensure a professional and lasting solution.
Roofing concerns can escalate quickly in the face of incessant rainfall typical of Austin’s Winter season. To safeguard your home, it’s prudent to inspect the roof periodically and after events like heavy storms or hail. For those tasks that are beyond the scope of do-it-yourself efforts, don’t hesitate to seek help from the professionals at Imperial Roofing’s commercial roofing services, ensuring your home or business is well-protected.
Consistent Vigilance: Your Roof’s Best Defense
Roof maintenance is not a one-time task; it is an ongoing commitment that keeps your home secure. Staying vigilant year-round, particularly before and after winter weather, can preclude most emergency leaks. By teaming up with a reputable roofing company, you safeguard not only your property but also your peace of mind.
Building a relationship with a reliable contractor means you have expertise just a call away when you need it. This proactive approach to roof care, including regular inspections and maintenance, extends the life of your roof and improves home value. Explore Imperial Roofing’s general contracting services for expert guidance on preserving your home’s structural integrity.