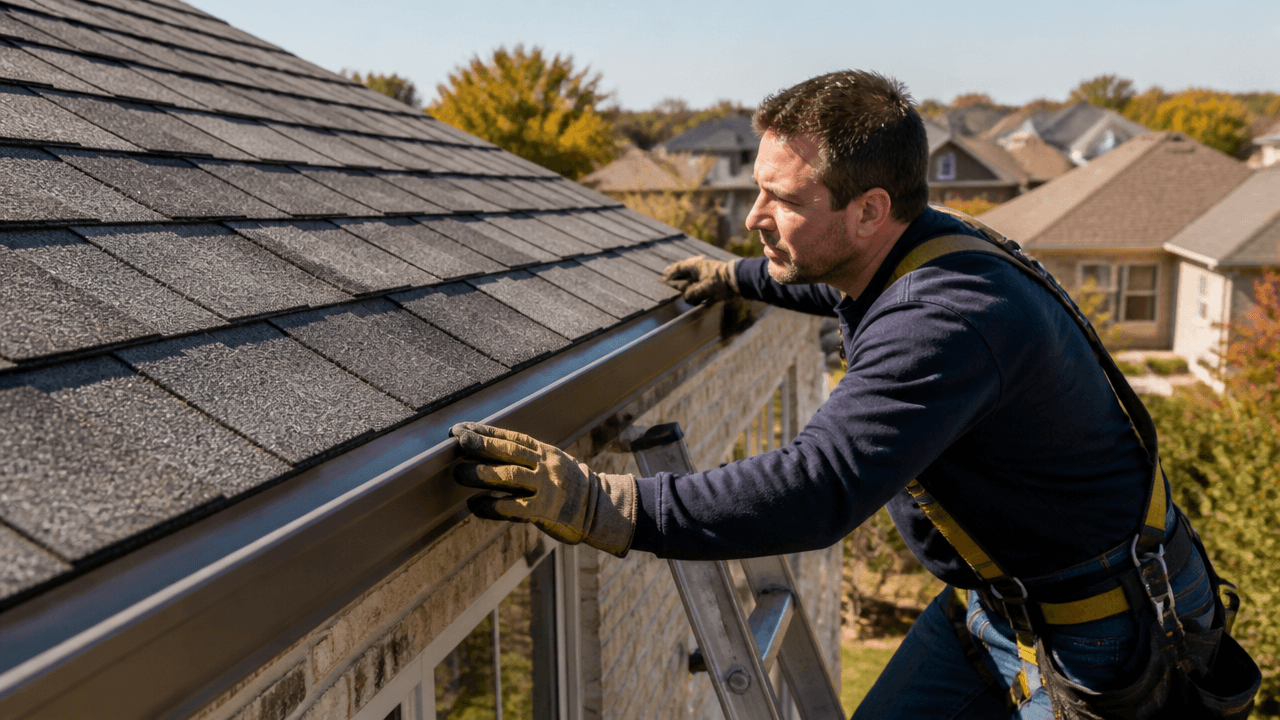
• A drip edge helps guide rainwater away from the roof edge and into the gutter, which helps protect the fascia, roof deck, and trim from moisture damage.
• In Frisco, TX, fall weather can bring sudden rain and cooler nights, so checking a drip edge now can help catch small problems before they turn into costly repairs.
• This guide explains how to inspect, measure, install, and review a drip edge on roof systems, while also showing the most common DIY mistakes to avoid.
Why a Drip Edge Matters Before Roof Problems Start
A small edge detail can make a big difference when rain starts working its way across your roof. When we talk about a drip edge on roof systems, we are talking about a piece that helps guide water away from the roof edge and into the gutter. In Frisco, TX, fall weather can bring sudden rain and cooler nights, which makes weak edges more likely to show wear. If that edge is not set up right, water can slip where it should not and begin causing damage over time.
Many homeowners do not notice the early signs until trim boards, fascia, or decking already show trouble. That is why getting ahead of the issue matters so much, especially before heavier seasonal weather creates extra stress on the roofline. A proper edge detail supports the roof’s ability to move water away from vulnerable areas and helps reduce the chance of leaks near the perimeter. For more about our roofing services, you can visit our residential roofing page.
In many cases, the problem starts small and grows quietly after repeated rain and wind. The edge may look fine from the ground, but water can still follow the wrong path if the metal is missing, loose, or installed the wrong way. That is why it helps to inspect the roofline before a minor concern turns into a bigger repair. We always encourage property owners to pay attention early, because roof edge issues are much easier to manage before water reaches the wood underneath.
How We Approach Roof Edge Protection
We start by looking closely at how water moves across the roof and where it ends up at the edge. A drip edge on roof setups should help direct runoff into the gutter while protecting the roof deck and fascia from moisture. If the metal is bent, spaced wrong, or left out in key spots, water can travel behind the gutter or soak into the edge materials. That is why careful placement matters just as much as the material itself.
We also look for signs that the roof edge may already be under stress, such as staining, soft wood, or loose shingles near the perimeter. In older roofs, these issues can build slowly and become more noticeable after storms or seasonal changes. When needed, our team at general contracting services can help address related exterior concerns that may appear alongside roof edge damage. The goal is to keep the roof working as one system so water has a clear path away from the home.
How to Install a Drip Edge on a Roof
🔍 Step 1: Check the Roof Edge First
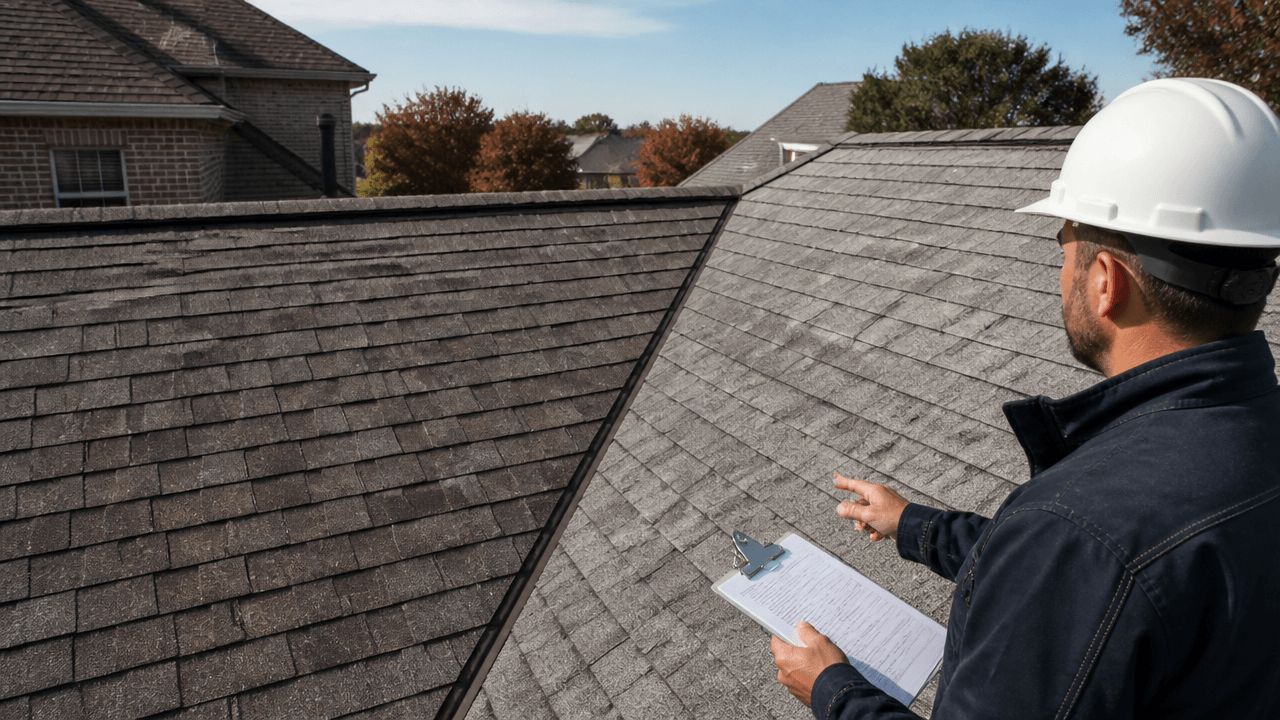
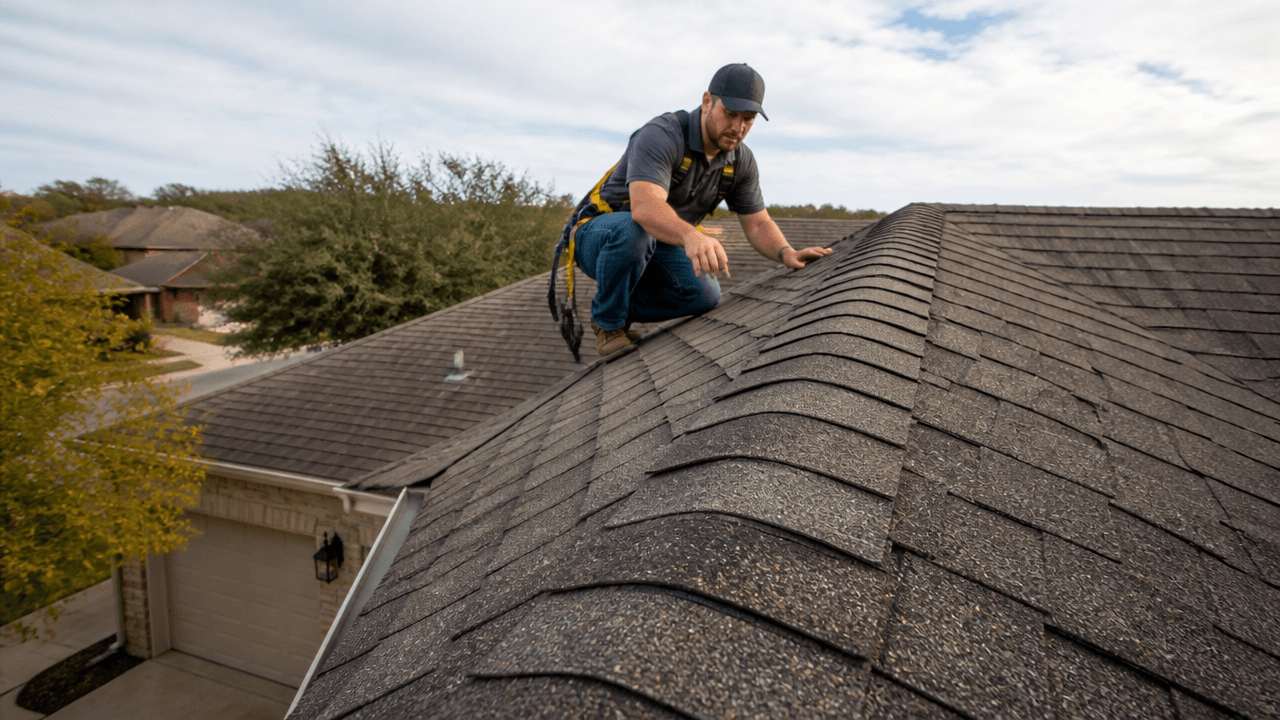
Start by looking at the edge of the roof for damage, rot, loose shingles, or old metal that is bent or missing. This step matters because the condition of the edge tells you whether the area can support new material or needs repair first. A clean, stable surface gives the drip edge a better chance to do its job.
🧰 Step 2: Gather the Right Materials
Use drip edge flashing, roofing nails, a hammer or nail gun, and basic measuring tools. These materials are used because the metal needs to sit flat and stay secured along the roof edge. Having everything ready before starting helps the work move smoothly and keeps the layout accurate.
📏 Step 3: Measure the Roof Line
Measure the full edge where the drip edge will go so you know how much material is needed. Accurate measuring helps avoid gaps and short pieces that can leave water paths open. This step also helps make sure each piece overlaps properly.
✂️ Step 4: Cut the Metal to Fit
Cut the drip edge pieces to match the roofline, making sure the ends are neat and usable. Clean cuts matter because rough edges can make fitting harder and may leave uneven spots at the corners. Good piece sizing helps the metal sit flush against the edge.
🔨 Step 5: Install the Drip Edge Along the Eaves
Place the metal along the eaves first and secure it with roofing nails. This helps direct water into the gutter and gives the lower edge a solid base. Nail placement should keep the metal steady without causing damage to the roof deck.
🪜 Step 6: Add the Drip Edge at the Rakes
Install the drip edge along the sloped sides of the roof after the eaves are in place. These edges also need protection because wind and rain can push water under shingles at the sides. A consistent install helps create a stronger barrier around the roof perimeter.
🧱 Step 7: Overlap and Seal Properly
Overlap each piece so water cannot slip through the joints. Proper overlap is important because seams are common places where water can sneak in if they are too short or uneven. Keeping the joints tight helps the flashing work as one connected system.
✅ Step 8: Inspect the Finished Edge
Once the work is done, check the full roof edge for straight lines, secure fasteners, and any visible gaps. This final review matters because small mistakes are easier to fix right away than after the next rain. A careful inspection helps confirm the drip edge is ready for weather.
Common DIY Mistakes to Avoid
Many homeowners try to handle roof edge work on their own, but small mistakes can lead to water getting into the wrong places. The most common problems usually come from rushing the job or skipping steps that seem simple. Avoiding these errors can help the drip edge on roof perform the way it should.
- ⚠️ Mistake 1: Skipping the Initial Inspection
Some people install new metal without checking for rot, old damage, or loose shingles first. This often happens because the edge looks fine from the ground, but hidden issues can keep the new material from sitting flat. To prevent this, always inspect the roof edge before starting any work. - ⚠️ Mistake 2: Measuring Too Quickly
Incorrect measurements can leave gaps, short sections, or awkward overlaps. This usually happens when someone wants to save time and starts cutting before confirming the full length. Careful measuring helps each section fit the roofline the right way. - ⚠️ Mistake 3: Placing the Metal in the Wrong Spot
If the drip edge is set too high or too low, water may not flow into the gutter correctly. This mistake often comes from not understanding how the eaves and rakes should be covered. To avoid it, follow the roofline closely and keep the metal aligned with the edge. - ⚠️ Mistake 4: Leaving Seams Too Open
Open seams can give water a place to slip through during rain. This happens when pieces are not overlapped enough or are placed unevenly. Prevent this by checking every joint and making sure the overlap is tight and consistent. - ⚠️ Mistake 5: Failing to Inspect the Finished Work
Some DIY jobs end as soon as the last nail goes in, which can leave small problems unnoticed. This usually happens because the installer assumes the job is done once the pieces are attached. A final inspection helps catch loose spots, gaps, or uneven sections before weather exposes them.
Frequently Asked Questions
What does a drip edge do on a roof?
Yes, a drip edge helps move water away from the roof edge and into the gutter. It also helps protect the fascia and roof deck from moisture that could cause damage over time. This small metal detail plays an important role in keeping water flowing where it should.
Do all roofs need a drip edge?
Yes, most roofs benefit from a drip edge because it helps control runoff at the perimeter. In many cases, a drip edge on roof systems also adds protection where shingles end and water is most likely to collect. It is a simple way to improve water management along the edge.
How do I know if my drip edge is failing?
Yes, signs of failure can include loose metal, water stains, soft wood, or leaks near the roof edge. These problems often show up after rain or wind has worked on the edge for a while. If you notice these signs, the roof edge should be checked soon.
Can I install a drip edge myself?
Yes, you can install one yourself if you have the right tools and experience with roofing work. The job needs careful measuring, proper placement, and secure fastening so water moves away from the roof correctly. If the roof is steep or damaged, professional help is the safer choice.
Why is a drip edge important in rainy weather?
Yes, a drip edge is especially helpful in rainy weather because it keeps runoff from slipping behind the gutter or soaking the roof edge. In a place like Frisco, TX, where seasonal rain can arrive quickly, that extra protection matters. It helps reduce the chance of water damage along the roofline.
Final Thoughts on Roof Edge Protection
A well-installed edge detail helps protect the roof where water is most likely to cause trouble. When we take the time to inspect, measure, install, and review the work, the roof is better prepared for changing weather. That is especially important in fall, when rain and temperature shifts can expose weak spots faster.
Keeping up with roof edge care is one of the simplest ways to help a roof last longer and stay ready for the season ahead. If you want to keep up with our work and company updates, follow us on social media.